|
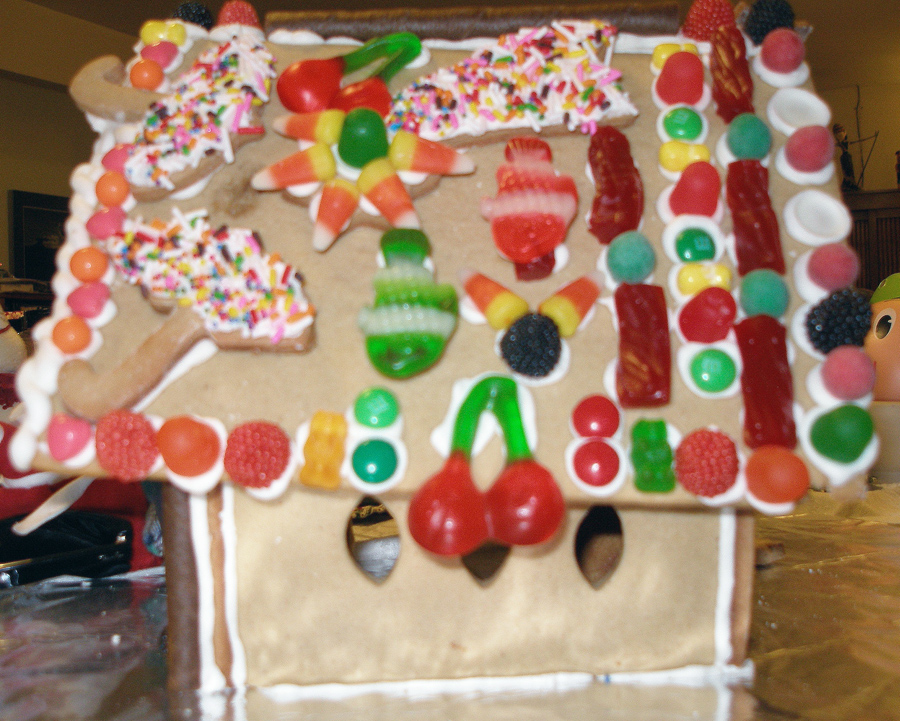
| The Picky Eater- already a skilled decorator at age 4. |
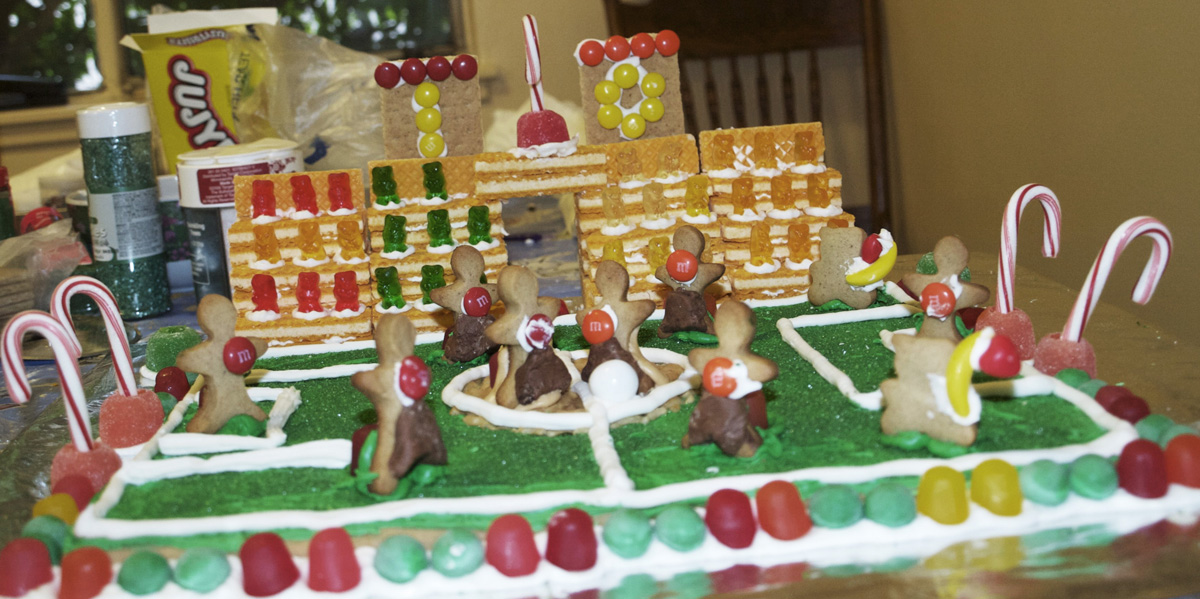
The Picky Eater has been building gingerbread houses since she was old enough to eat a jelly bean. Her many wonderful handcrafted edifices include the Ballet Studio, Science Building 194 at UC Davis, a Redwall castle, and the variation on Frank Lloyd Wright’s Falling River. Her mother is no slouch in the gingerbread house department either- there have been the Japanese farmhouse, the Marc Chagall hovel, Three Bears at the Beach, the Hot Pepper Taco Stand, Don Quixote’s Windmill, and various other oddities over the years. We even featured a collection of our houses on our holiday card in 2008 (with apologies to Vincent VanGogh!)
 |
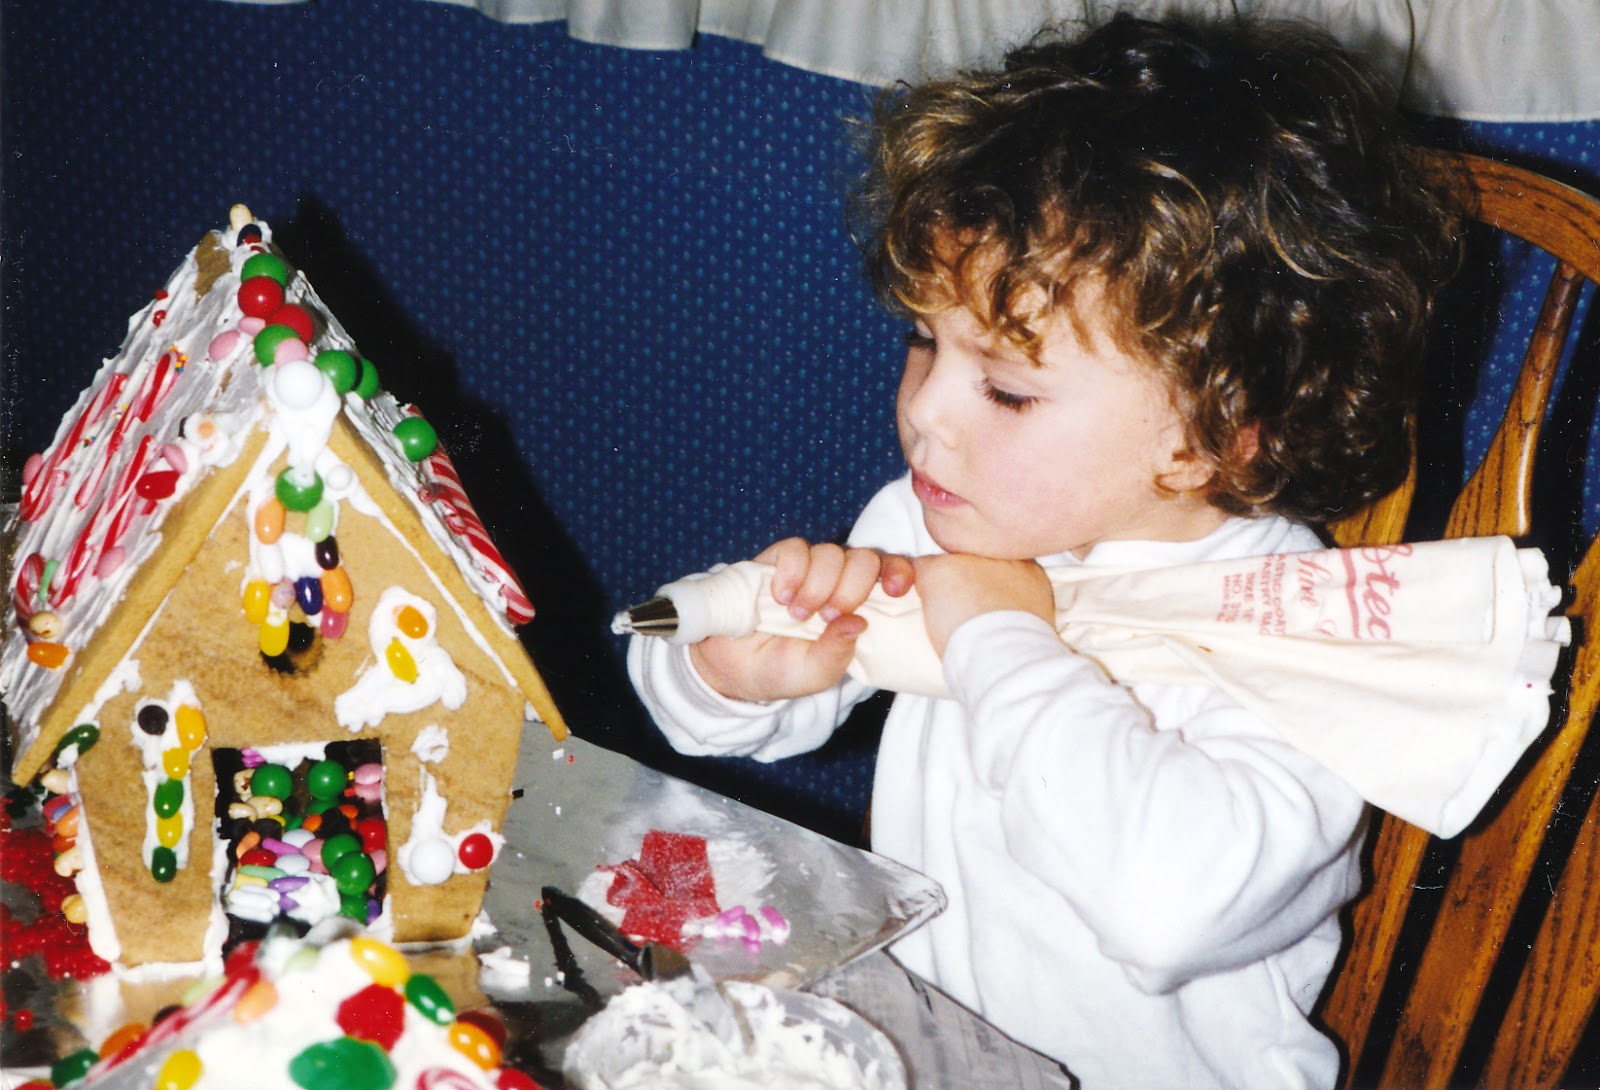
| Frank's first house at age 5 |
Even before the Picky Eater was born there was annual gingerbread house making with our friends Kathy, Lindsay, and Virginia Terry. We still chuckle about our first year, when at age two, Virginia was overwhelmed by the candy, chaos, and activity, and had to go to bed. (Virginia is now twenty-eight.) Back in those days the construction took place at the Terry's house and inevitably it would be raining by the time came for our houses to go home- have you ever tried to carry a gingerbread house through the rain? Not one of life's great pleasures. I am well known for being insistent and over zealous when it comes to gingerbread houses. Pre 9-11 Dr. Hal's East Coast niece and nephew were visiting. Learning that they had never decorated gingerbread houses, we launched in the day before they left to fly home, and I insisted that their parents carry them on the plane, each in its own cardboard box. I can only hope that they ditched them before boarding, but to this day have been afraid to ask! Since the Picky Eater went to college we have enlisted a new generation of cookie house makers- Frank (age 9), Sophia (age 6), and Isabella (age 5).
Over the years we have honed our technique for maximum efficacy. These are some tips, gleaned from our years of experience:
Cut & bake your house pieces the day before. After cooling, cover tightly on a cookie sheet or tray with aluminum foil.
Roll out, cut, and bake the dough on a sheet of parchment paper.
Use disposable pastry tubes and have one for each decorator.
Gingerbread House Dough
This recipe makes a stiff, forgiving dough that can tolerate lots of rolling and re-rolling out and still tastes good. I usually make 1 batch of dough per person, plus one extra.
1 c. butter
1 c. brown sugar
1 c. white sugar
4 eggs
1/4 t. salt
2 t. cinnamon
1 t. freshly grated nutmeg
1 t. cloves
2 t. ginger
5 c. flour
A heavy-duty electric mixer is a must to make this amount of dough. If using a hand-held mixer, halve the size of your batch.
Cream the butter and sugars until light and fluffy. Beat in the eggs and seasonings, and continue beating about 2 minutes. Gradually beat in as much flour (use the mixer, not by hand!) as you can. Turn the dough out on a board and knead in any remaining flour, to make a very stiff dough. Wrap in plastic and refrigerate at least 24 hours.
Baking the cookies:
Preheat oven to 350°.
Roll half the dough out 1/4” thick on a floured board or parchment paper. Keep remainder of dough refrigerated. Cut out cookie shapes or house pieces. Transfer to a buttered and floured cookie sheet or slide parchment paper onto a cookie sheet.
Bake 12-18 minutes, until the cookies feel dry and firm to the touch. Cool on a rack. (recipe from
From Julia Child’s Kitchen.)
If constructing a house, use this icing as your cement:
Royal Icing
4 egg whites
1/2 t. lemon juice
1/4 t. cream of tartar
8 c. powdered sugar
1 Tb vanilla
With an electric mixer, beat the egg whites, lemon juice, salt, cream of tartar, and 2 c. powdered sugar until you have a thick white paste. Add the flavoring, and gradually the rest of the powdered sugar, beating. Continue beating until the frosting is thick, smooth, and stands in peaks. (
From Julia Child’s Kitchen.)
This icing should be stiff enough to hold your houses pieces together after just a few minutes.
Here’s a good icing for “eating” cookies:
Cookie Icing
1 c. butter, softened
pinch of salt
6 c. powdered sugar
2 Tb milk or cream
1 Tb vanilla
Cream the butter and salt together in a bowl. Gradually beat in the powdered sugar and the milk. Add the vanilla. Continue beating until the icing is very fluffy.
Icing should be smooth and stiff enough to spread. Tastes great topped with cookie sprinkles.
Makes 3 cups. (From Marion Cunningham's
The Fannie Farmer Baking Book.)
House Construction
We usually do this as a 1-3 day process. Day 1: Make cookie dough, Day 2: Cut and bake pieces. Day 3: Make icing, assemble, and decorate houses.
Can also be done in 2 days. THE DOUGH MUST BE MADE ONE DAY AHEAD!!
Baking the House Pieces
Supplies:
1 batch gingerbread dough (per house)
Baking parchment paper
flour
rolling pin
cookie sheets
cookie cutters
table knife
spatula
Preheat oven to 350°.
1.
Form half of a batch of dough into a thick pancake, and roll out on parchment paper until ¼” thick, using flour under and on top of dough to prevent sticking.
2.
Lay as many pattern pieces as will fit on the dough. Cut out using a table knife. When cutting, make short, choppy overlapping strokes. Cutting in one smooth motion pulls on the dough. Don’t forget to cut out doors and windows – we sometimes use miniature cookie cutters.
3.
When cutting and baking pattern pieces, your goal is to distort them as little as possible. The more distorted they are, the more difficult it will be to assemble your house.
4.
Pull away the excess dough from around the pattern pieces, and gather it into a smooth ball. The excess dough should be refrigerated for at least 20 minutes, and can then be rolled out again for more pattern pieces or cookies.
5.
Slide the parchment paper sheet holding the pattern pieces onto a cookie sheet, and bake in the preheated oven for 12-20 minutes, until the dough seems firm, dry and the edges are barely brown. Large pieces will need to bake longer; you may need to remove them from the oven as they finish baking.
6.
Let pieces cool on the parchment paper for about 10 minutes, then use a spatula to transfer them to a wire rack to finish cooling. House pieces must be almost completely cool before they can be assembled.
Assembling Your House
Supplies:
Plate, tray or cardboard base
Pastry bags (I use disposable plastic ones; we like to have one for each person)
Simple icing tips (one for each bag)
Royal icing (about ½ batch per house)
Extra cookies for decoration
Vast array of candies & sprinkles: jelly beans, gumdrops, Necco wafers, peppermint sticks, Gummi anythings, etc. etc. The bigger variety the better!
1.
Make a couple of batches of royal icing while your house pieces cool. The icing should be on the stiff side so that it will harden quickly to avoid having your house collapse. Cut the bottom of your pastry bag, and insert a tip from the inside. Use a spatula to load up the bag with icing, forcing it to the bottom of the bag. Closing the top of the bag with a rubber band keeps the icing from squeezing out.
2.
Also choose a base: it can be a flat plate, tray, etc. We cover large squares of corrugated (box) cardboard with aluminum foil. This type of base allows you to add snow, icebergs, trees and animals, etc.
3.
Decide where on your plate or tray you will position your house; making sure that you allow enough space on all sides.
4.
It works best if people work in pairs when putting a house together – that way one pair of hands can hold while the other assembles.
5.
If making a house with a cookie rectangle base, glue the base down with a bit of icing. Whether using one or not, proceed to construct your house in this manner:
a.
Run a line of icing along the bottom edge of the house front and stand it up where you want it. (Attach it to the long edge of your base, if using one.) Hold in place.
b.
If your house has sides, run icing along the back of the house front next to the outside edges. Run a line of icing along the bottom edge of each side, and attach them to the front, gently pressing the edges into the icing and the bottom onto your base. Hold in place for a couple of minutes, until the icing is firm.
c.
Attach the back by running icing along the bottom edge and inside edges and attach to the sides. Hold in place.
d.
Raising the roof is probably the most challenging aspect of this. Run generous lines of icing along each edge with the roof pieces will touch on the house front, back, and sides. Also apply a generous line of icing to the top edge of one roof piece.
e.
Quickly position both roof pieces, matching front edges and pushing the roof pieces together at the crest of the roof. Hold in place until you are ABSOLUTELY sure they are secure.
f.
The hard part is done!! Now, enjoy decorating your house and landscape the yard with icing, cookies, candies, and sprinkles.
g.
Nibbling is inevitable. Take lots of photos, then delight in playing Hansel or Gretel and breaking off bits of your house to eat whenever it strikes your fancy.